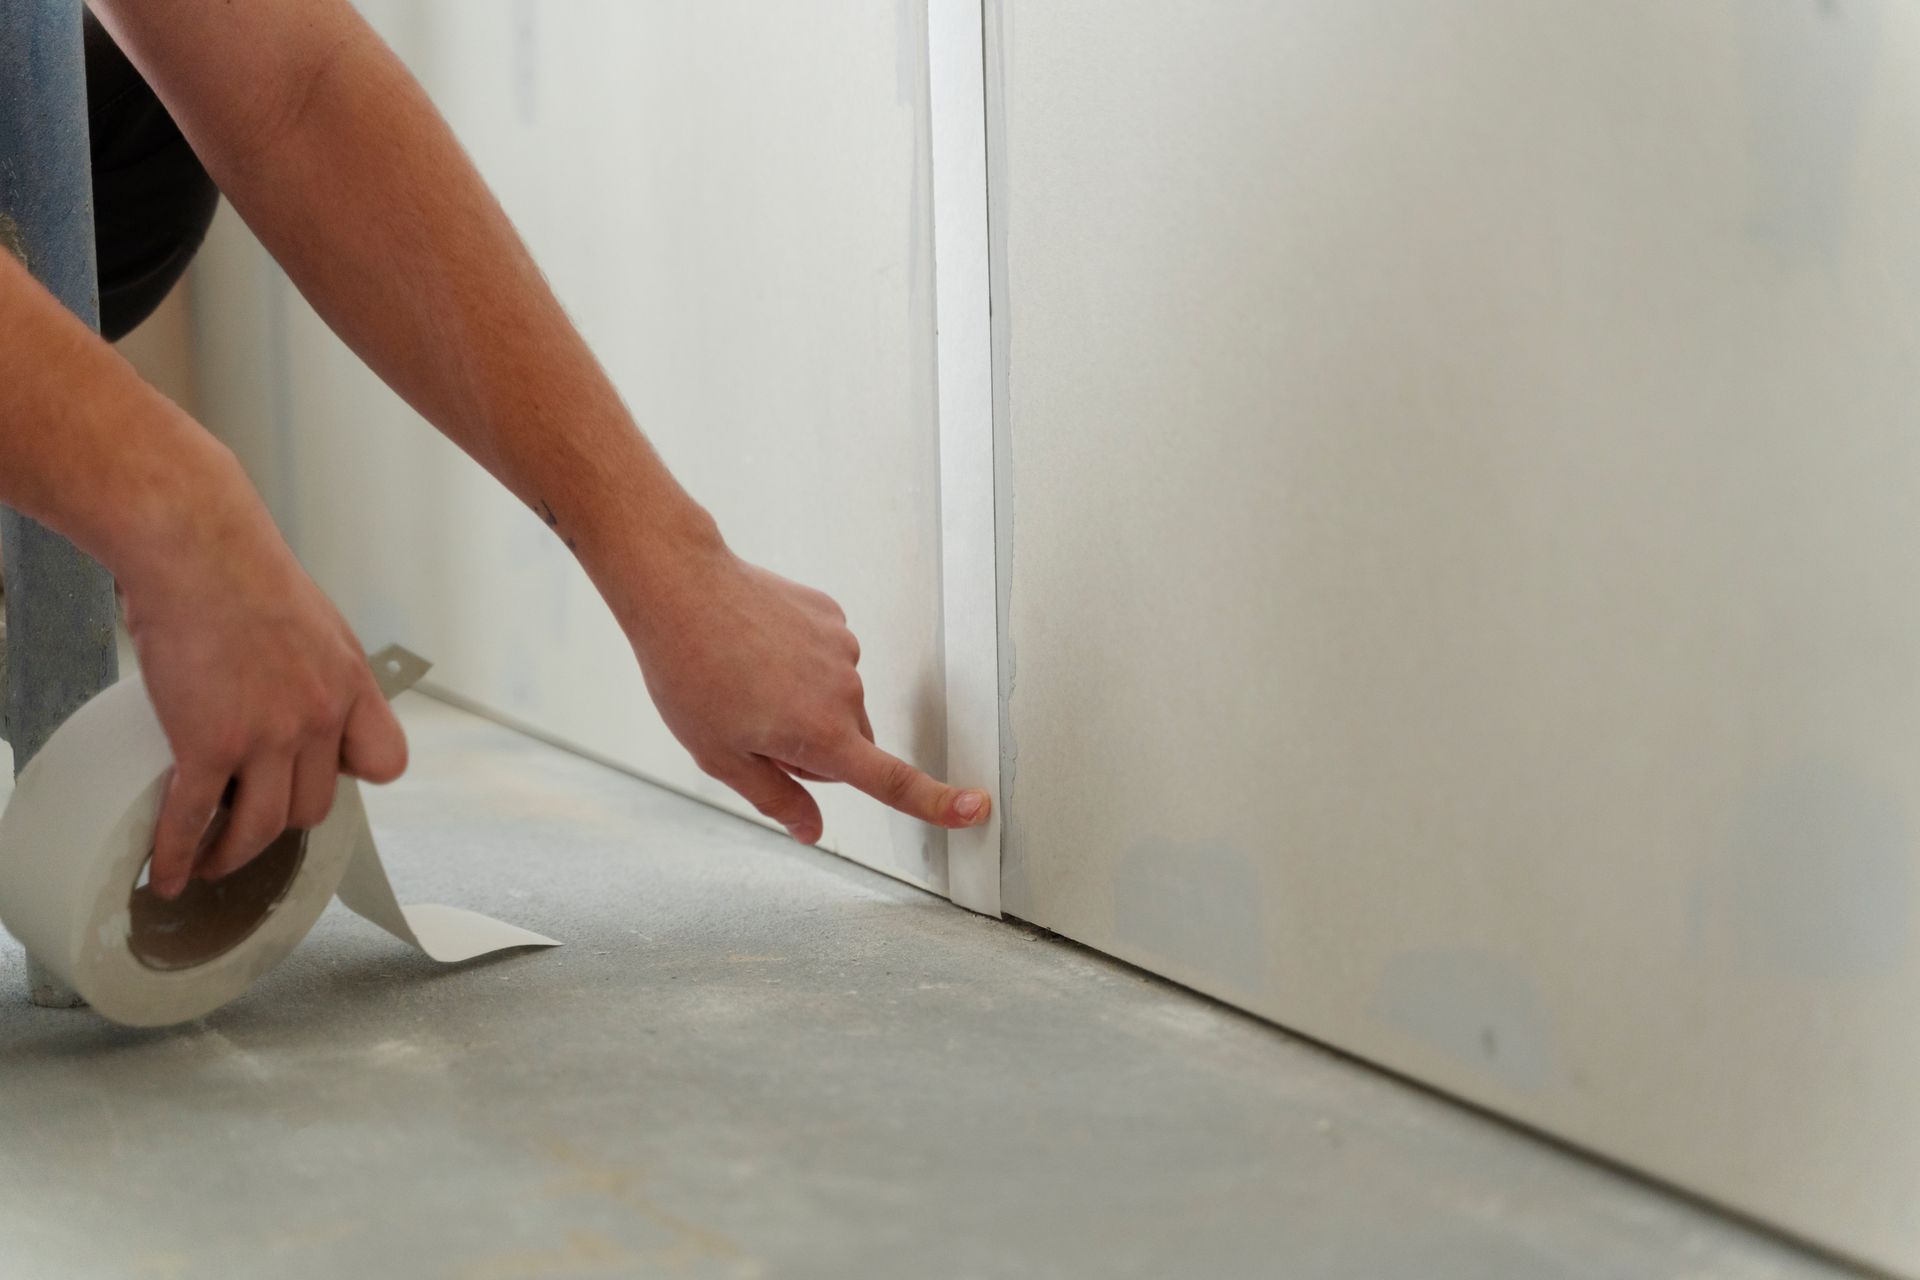
Troubleshooting Tape and Texture Issues: Common Problems and Solutions
Identifying and Fixing Common Tape and Texture Drywall Issues for a Perfect Finish
Tape and texture are essential elements in drywall finishing, providing not only structural integrity but also aesthetic appeal. However, even the most meticulous application of
tape and texture drywall can encounter issues. Whether you're a DIY enthusiast or a professional, understanding common problems and their solutions can save time and frustration. This article will delve into some of the most frequent challenges faced during the tape and texture process and offer practical solutions.
1. Bubbling Under Tape
One common issue is bubbling under the tape, which can occur due to inadequate adhesion between the tape and the drywall. This often happens when the joint compound (also known as mud) is too dry or applied too thinly.
Solution:
To fix this issue, remove the bubbled tape carefully and reapply a fresh layer of mud. Ensure that the compound is evenly spread and adequately thick before laying down the tape. Press the tape firmly into the mud to remove air pockets, and smooth it out with a taping knife. For future projects, using high-quality tape and ensuring the proper consistency of your mud can help prevent bubbling.
2. Cracking in the Tape and Texture
Cracks can appear in the tape and texture walls due to several reasons, including movement in the drywall, inadequate drying time, or applying too thick a layer of compound.
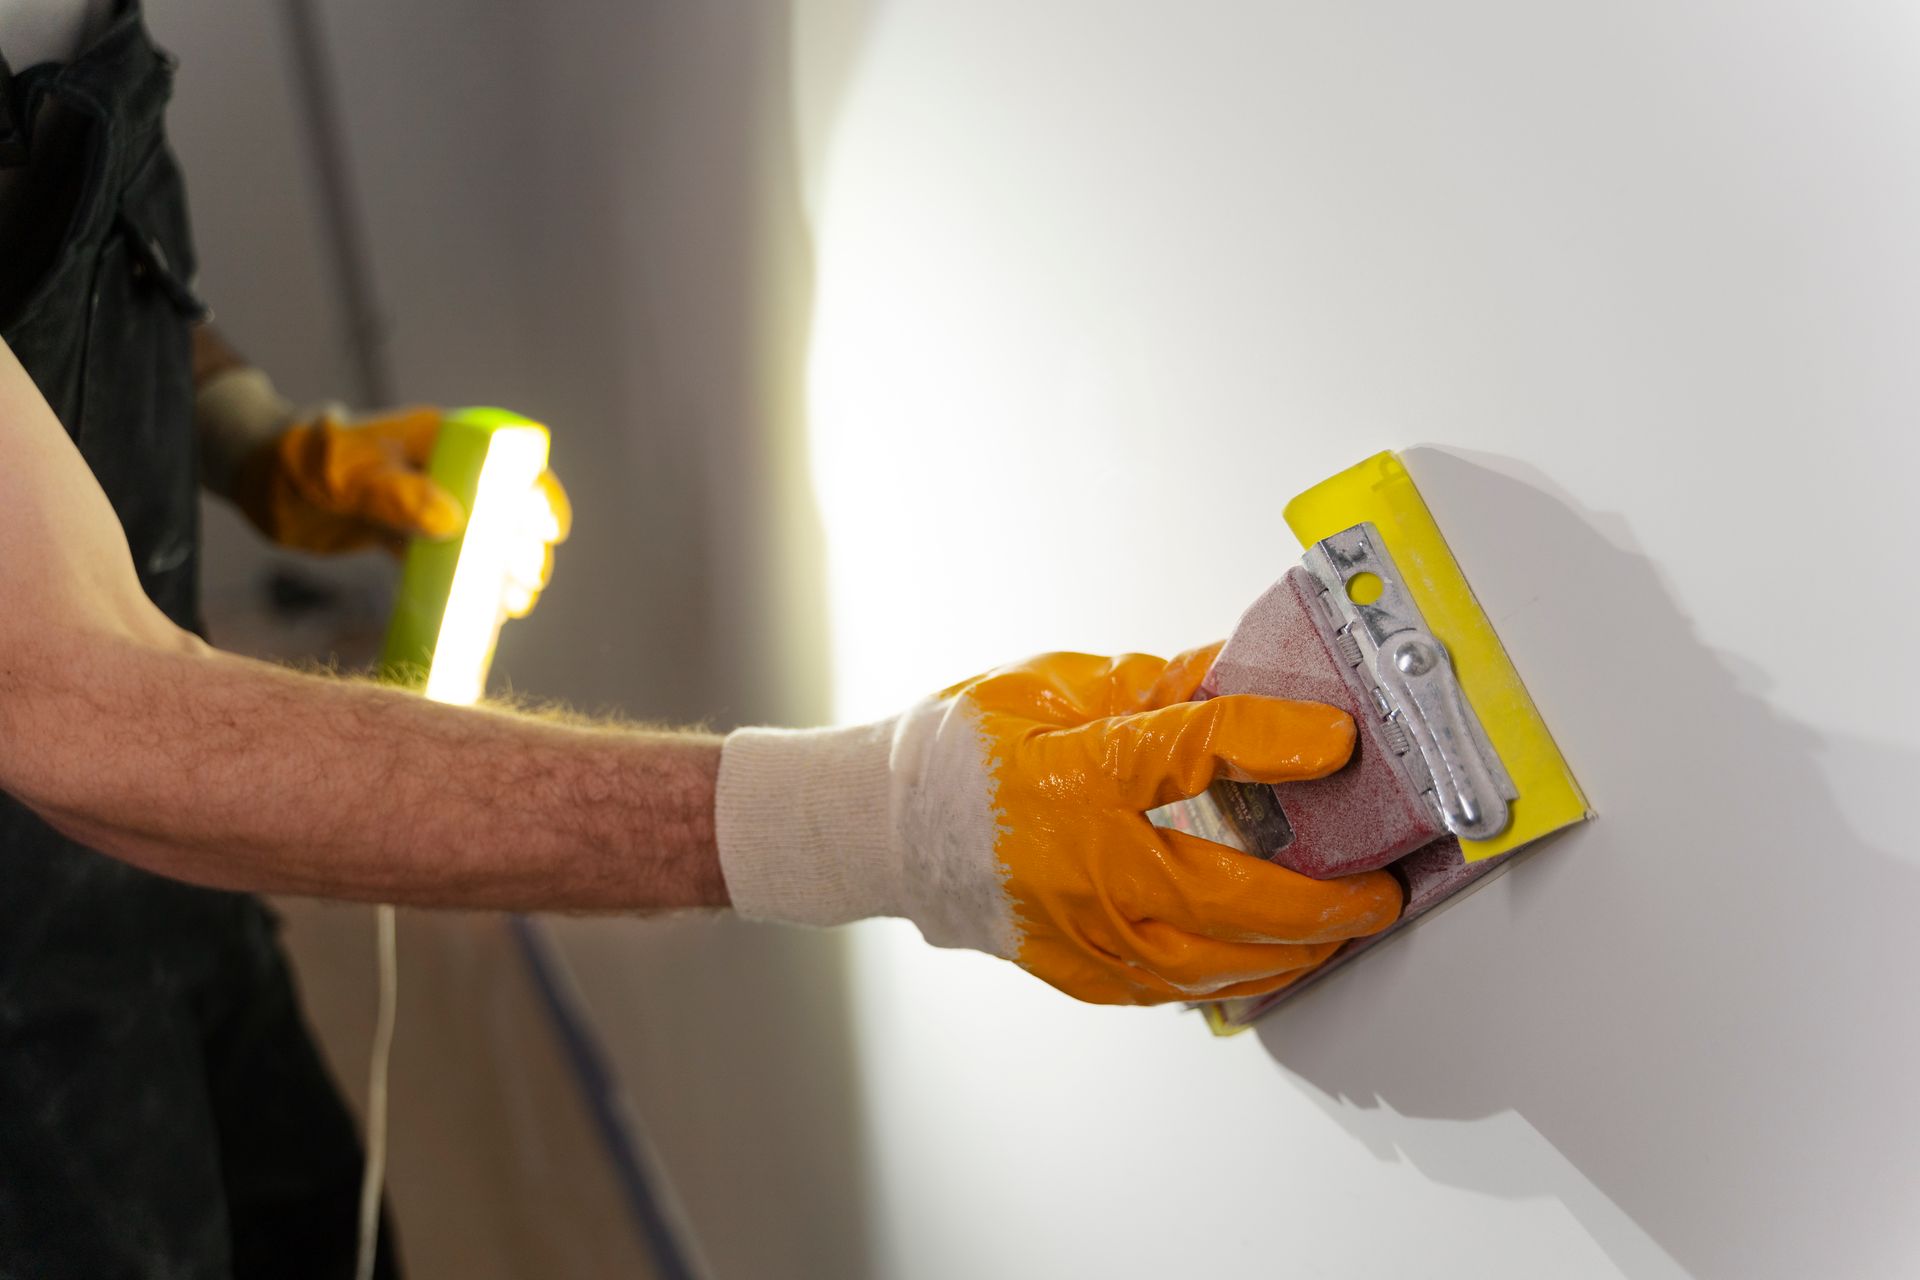
Solution: To repair cracks, lightly sand the affected area to remove loose material. Then, apply a thin coat of mud over the crack, embedding a new strip of tape if necessary. Once dry, add another thin layer of compound, feathering the edges to blend with the surrounding texture. Be sure to allow each layer to dry thoroughly before applying the next. For large or persistent cracks, consider using a flexible, mesh tape that can accommodate slight movements.
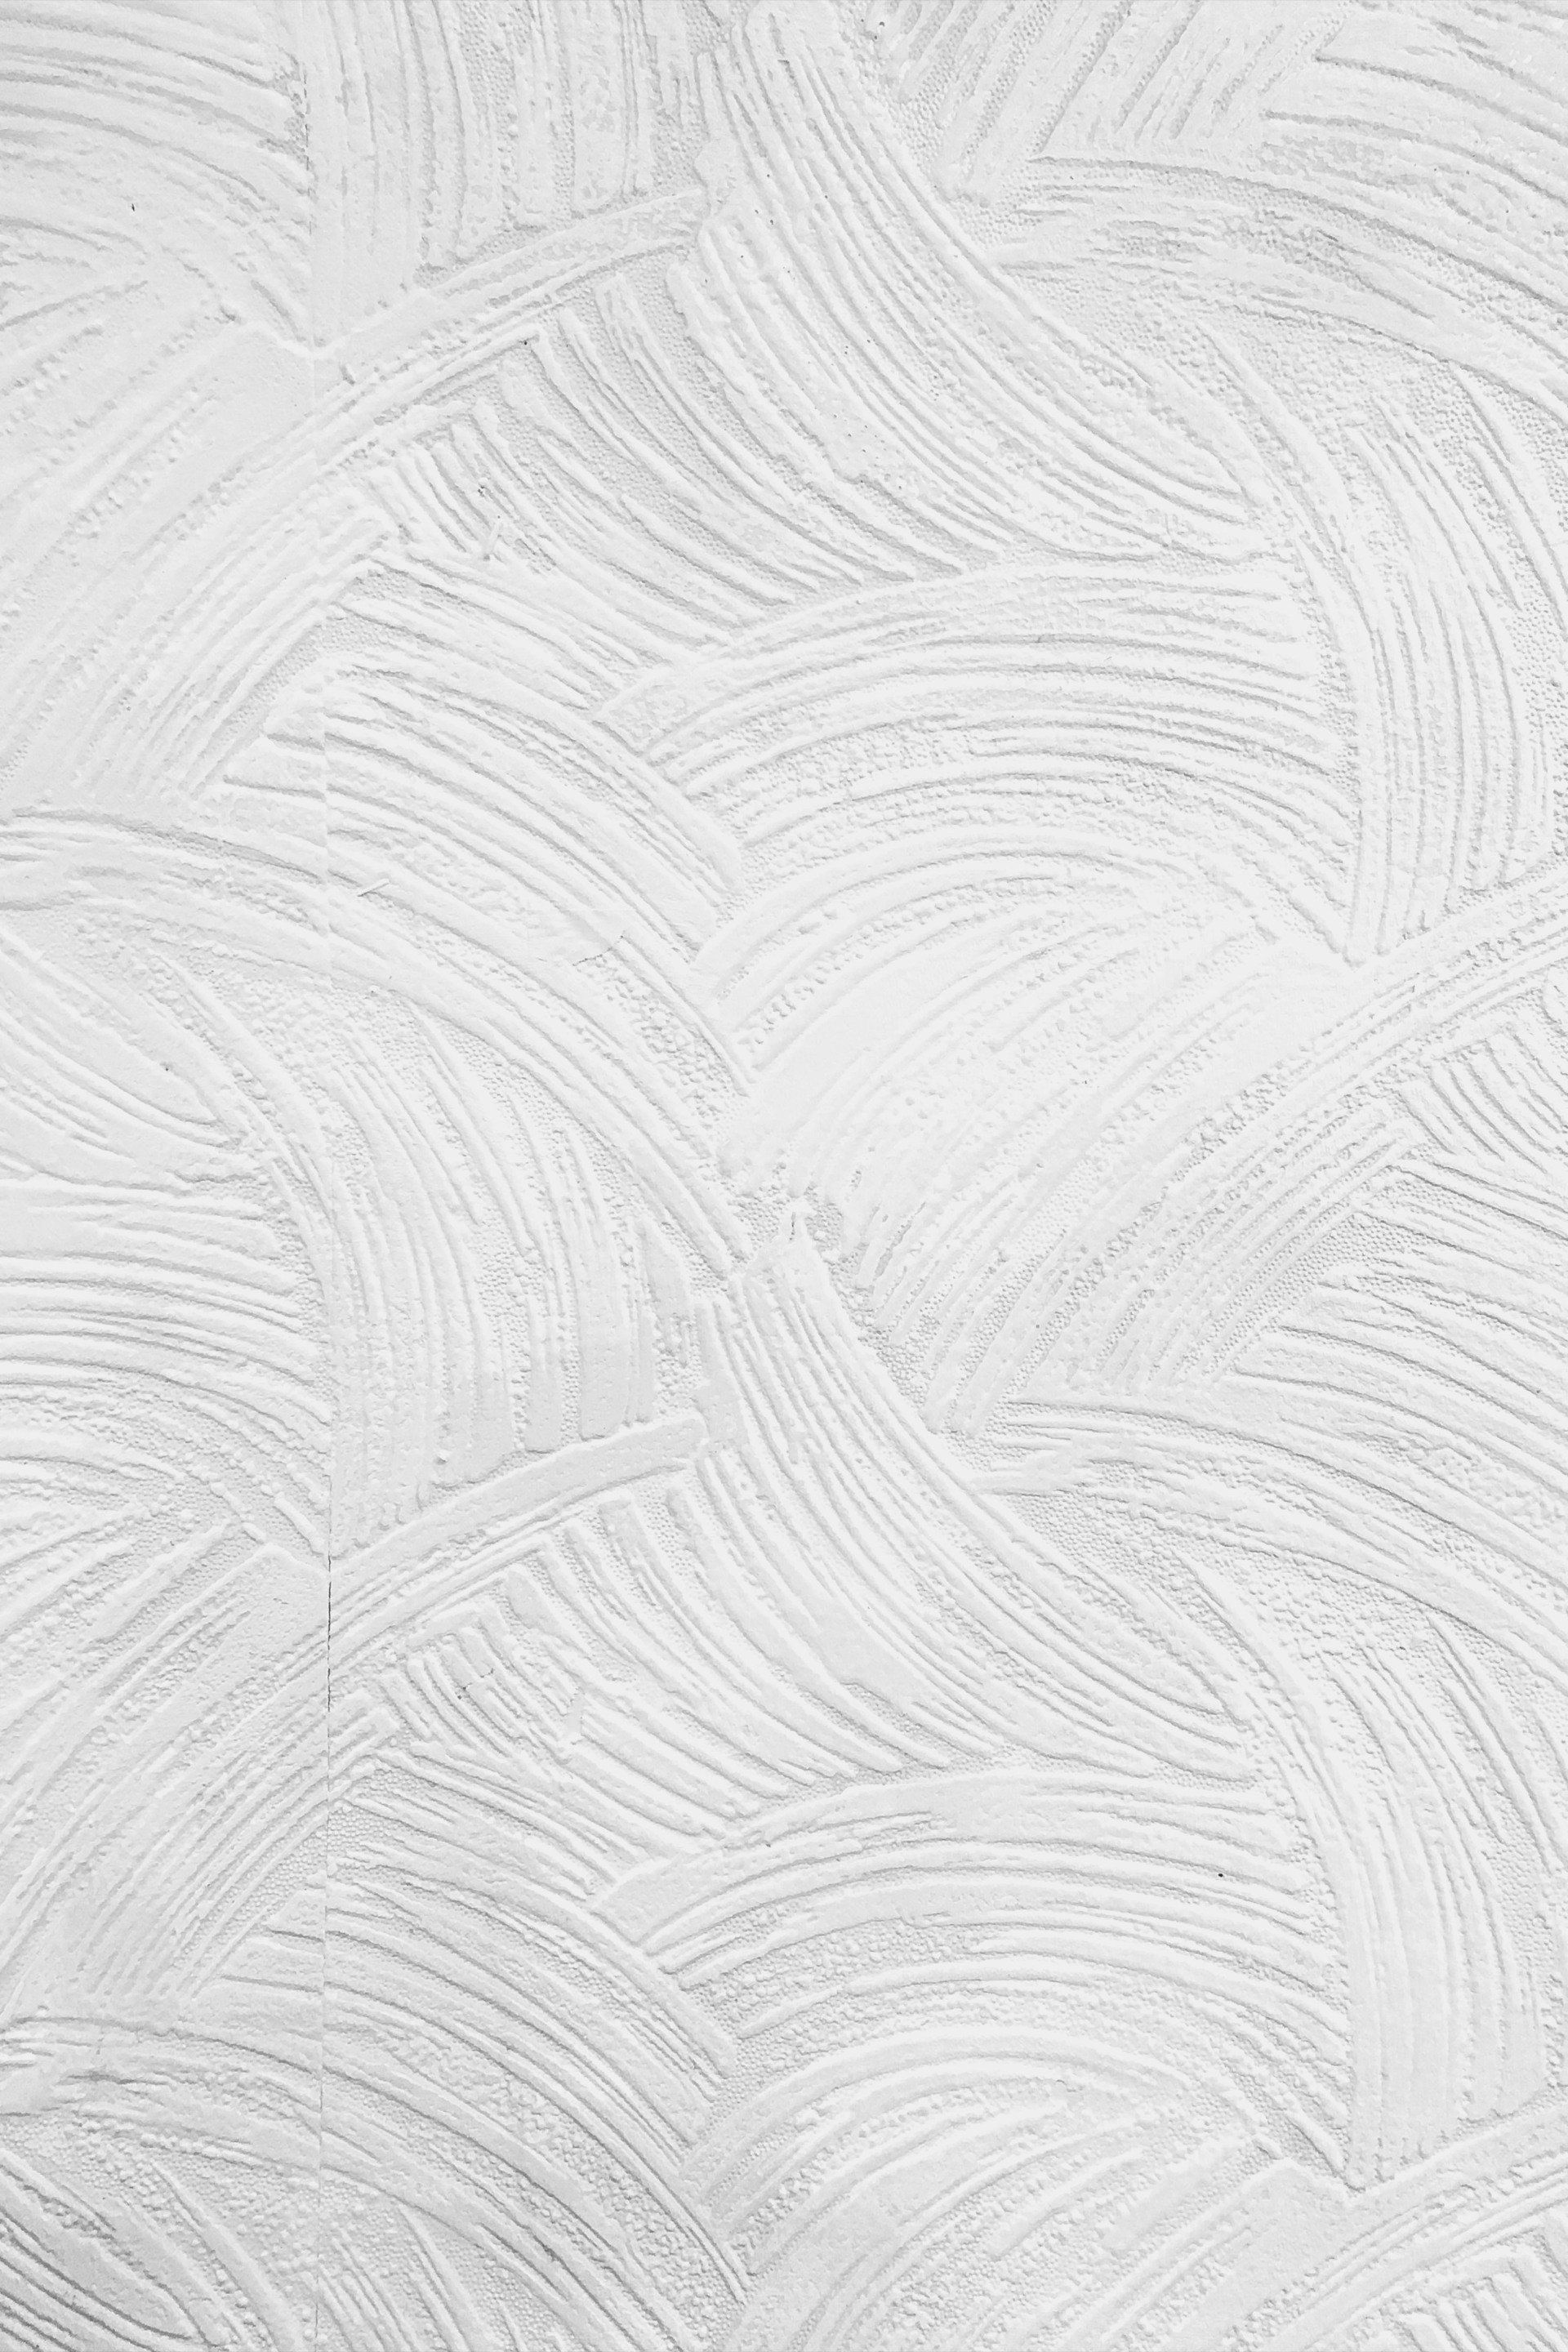
3. Uneven Texture
Achieving a consistent texture can be challenging, especially if you’re new to working with mud tape and texture. Uneven texture may result from inconsistent application techniques or varying drying times.
Solution: If you notice uneven texture, lightly sand the high spots and fill in the low areas with a thin layer of mud. Use a texture roller or spray gun to reapply the texture evenly. It's crucial to practice on a scrap piece of drywall to perfect your technique before tackling the main area. Additionally, using the right tape and texture tools such as specialized rollers, knives, and trowels can help achieve a more consistent finish.
4. Peeling Tape
Peeling tape is another common problem that can arise if the tape wasn't adequately embedded in the compound or if the surface was dusty or dirty before application.
Solution: To fix peeling tape, remove the loose sections and sand the area smooth. Clean the surface thoroughly to remove dust and debris, then apply a fresh layer of mud. Embed new tape, pressing it firmly into the compound, and smooth out any air bubbles. Finish with additional coats of mud as needed, feathering out the edges to blend with the surrounding surface.
5. Inconsistent Color After Painting
Inconsistent color after painting can occur if the joint compound absorbs paint differently than the surrounding drywall, often due to variations in texture or primer application.
Solution: To ensure consistent color, always prime the entire surface, including the joints, before painting. This creates a uniform surface that absorbs paint evenly. If you've already painted and notice inconsistencies, consider applying another coat of primer and paint to even out the color.
6. Blisters in Texture
Blisters can form in the texture if the drywall surface is not properly prepared, or if there is moisture present in the wall. This can also happen if the texture is applied too thickly.
Solution: To fix blisters, first identify and eliminate the source of any moisture. Once the area is dry, sand the blistered spots down to a smooth surface. Reapply the texture with a thin coat, ensuring it is evenly spread. Using a texture sprayer can help achieve a more consistent application.
7. Rough or Sharp Texture
Sometimes the texture can turn out rough or sharp, making the surface unpleasant to the touch. This issue often arises from using too much texture material or not properly blending it.
Solution: To smooth out rough texture, gently sand the surface until it reaches the desired smoothness. For a softer finish, consider adding a little water to the texture mix to thin it out before reapplying. It's also helpful to experiment with different tape and texture tools to find the one that gives you the best control over the final appearance.
8. Difficulty Matching Existing Texture
Matching an existing texture can be particularly challenging, especially if you're making repairs to a small section of the wall. Even slight variations in technique or materials can result in noticeable differences.
Solution: Start by carefully studying the existing texture to understand its pattern and thickness. Practice on a scrap piece of drywall until you can replicate the texture closely. When applying the texture, use similar tools and techniques as those used originally. Feathering the edges of the new texture into the old can help blend the repair seamlessly.
Conclusion
Understanding and addressing common issues in tape and texture applications is key to achieving a professional-looking finish. Whether dealing with bubbling, cracking, uneven texture, peeling tape, or inconsistent color, the right techniques and tape and texture tools can make all the difference. By taking the time to troubleshoot and fix these problems, you can ensure that your walls look flawless and stand the test of time.
Remember, practice and patience are essential in mastering the art of tape and texture drywall. Whether you're working on a new installation or repairing existing walls, these solutions will help you achieve the best possible results. With the proper tools, techniques, and materials, even a novice can achieve professional-grade results. Don't hesitate to seek out additional resources or
consult with a professional if you encounter particularly challenging issues. Happy drywalling!
Ready to work with Dallas Drywall Solutions?
Let's connect! We’re here to help.
Send us a message and we’ll be in touch.
Or give us a call today at 972-362-9799

