Mastering the Art of Repairing Holes in Walls: A Comprehensive Guide"
Expert Hole Repair: A Step-by-Step Guide to Fixing Wall Holes with Precision
Whether you're moving furniture, hanging artwork, or making minor repairs, it's not uncommon to encounter the dreaded "hole in the wall." These unsightly blemishes can be an eyesore and diminish the overall appearance of your home.
Fortunately, you don't have to be a DIY expert to fix it. We willl walk you through the steps to tackle various hole sizes and types, from small nail holes to larger damage, and explore effective methods to restore your walls to their former glory.

Understanding the Types of Holes in Walls
Before diving into the the process of repairing walls , it's essential to understand the types of holes you may encounter.
Nail Holes
Nail Holes: These small holes are typically left behind when pictures, shelves, or decorations are removed. They are the most common type of hole in walls and repairing nail holes in walls is quite simple
Screw Holes
Screw Holes: Similar to nail holes, these are left behind when screws are removed from walls or surfaces. They may vary in size and depth, depending on the screw used. In this guide we also cover how to fix a screw hole in the wall.
Drywall Anchor Holes
Drywall Anchor Holes: These holes are left when anchors used for heavy items like mirrors or shelves are removed. They can range in size from small to large and may require different repair techniques.
Larger Holes and Damage
Larger Holes and Damage: These include holes caused by accidents, impacts, or other forms of damage. Repairing larger holes can be more complex but is still achievable with the right approach.
Tools and Materials You'll Need
Before getting started, gather the necessary tools and materials for the job:
Tools:
Putty knife or spackle knife: For applying patching compounds.
Sanding block or sandpaper: To smooth the repaired area.
Utility knife: For precise cutting and shaping of patches.
Paintbrushes and paint: To match the wall's color and texture.
Safety gear: Gloves, safety glasses, and a dust mask are essential for safety.
Materials:
Patching compound: Available in various forms, including pre-mixed and powder.
Drywall patch: Used for larger holes, providing a stable base for the patching compound.
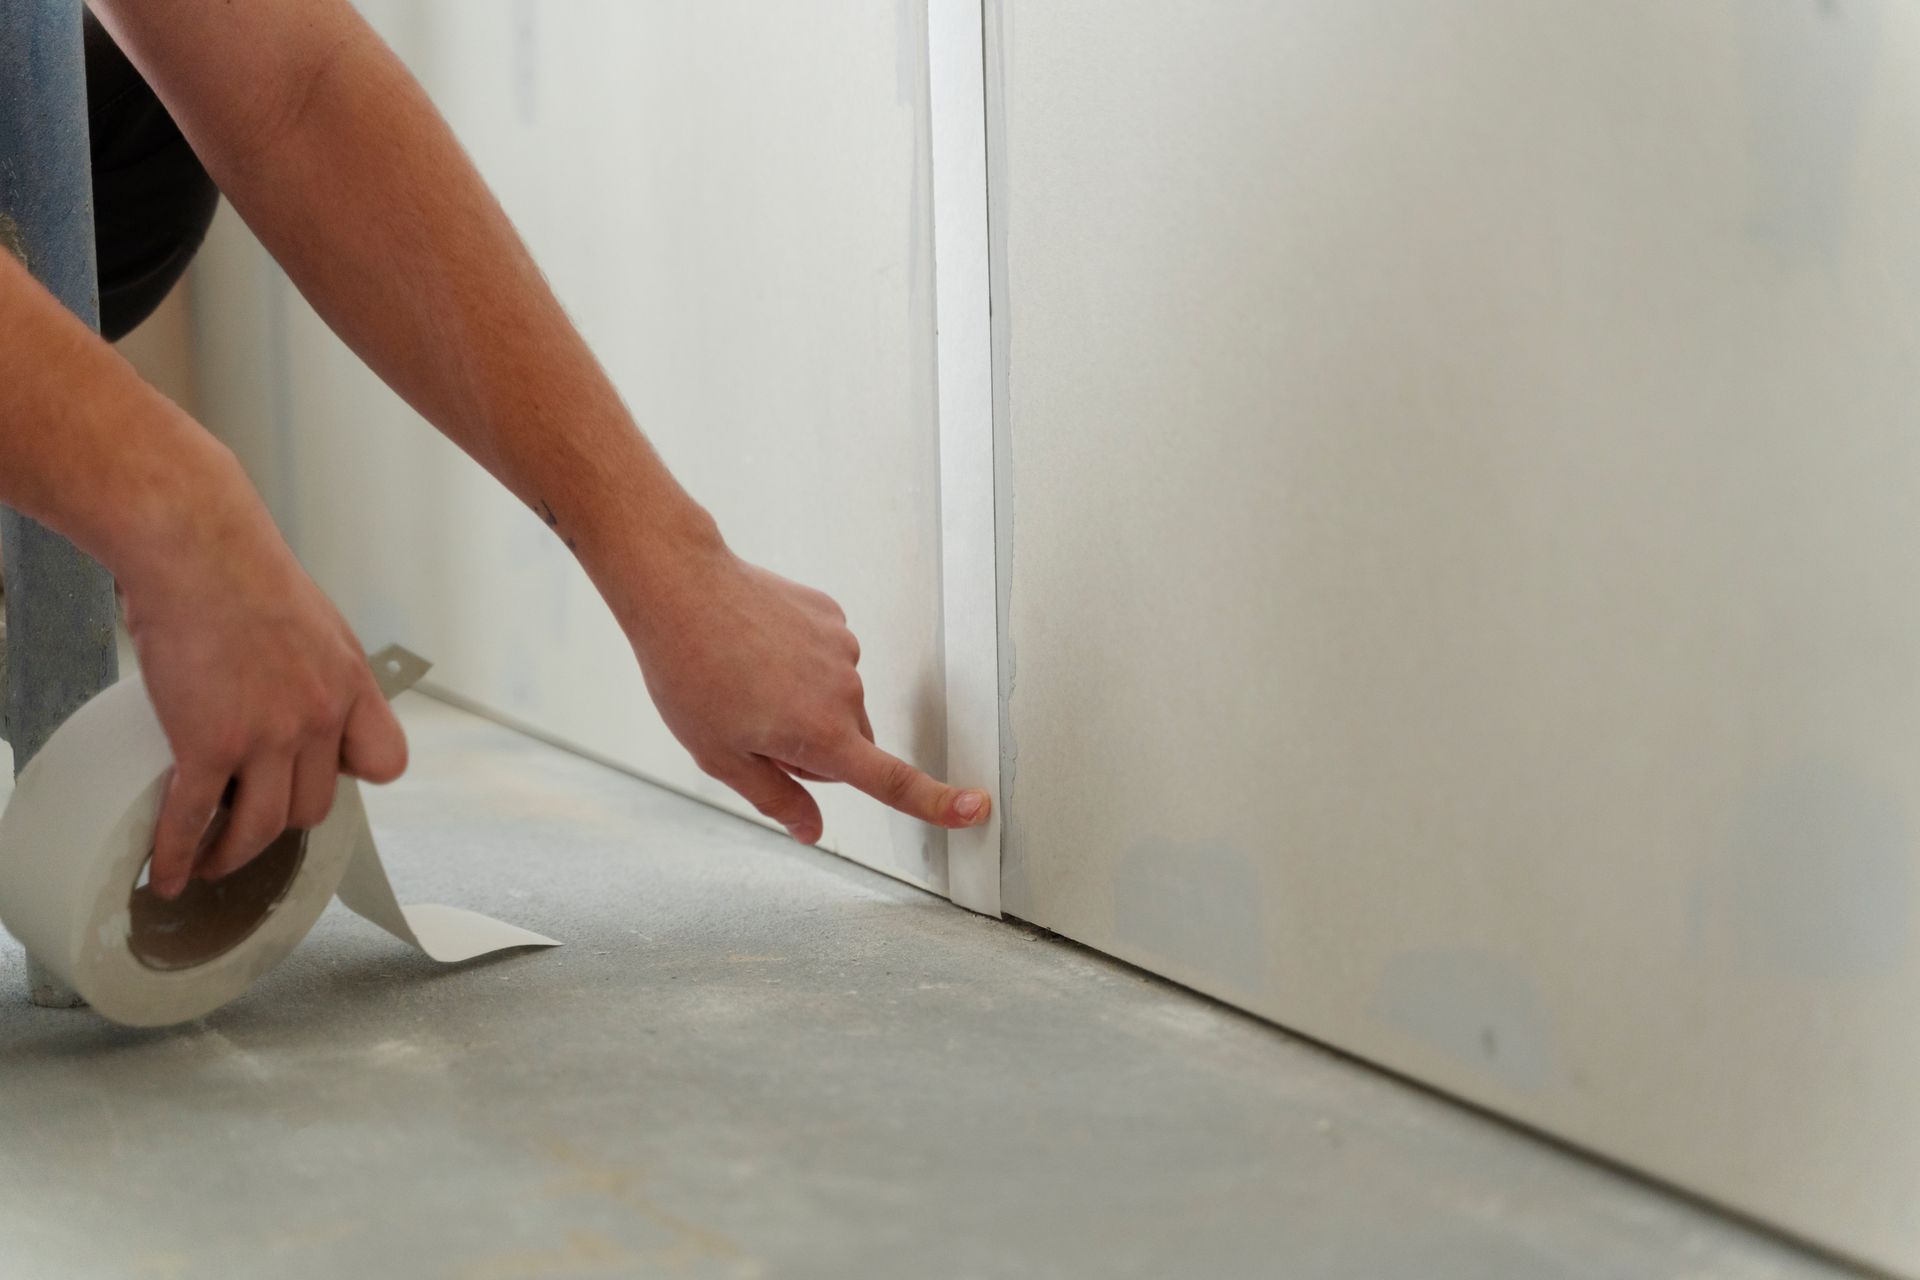
Drywall tape: Reinforces the repair and prevents cracking.
Primer: Helps the paint adhere evenly.
Paint: Matched to the color and finish of your existing wall.
Repairing Small Holes in Walls
Are you readt to seal holes in wall? Well, let’s begin the step by step guide.
Step 1: Clean the Hole
To cover holes in wall, use a utility knife or putty knife to gently remove any loose or damaged drywall around the hole.
Step 2: Apply Patching Compound
Using a putty knife, apply a small amount of patching compound to the hole. Fill the hole completely and smooth the surface.
Step 3: Sand and Repeat
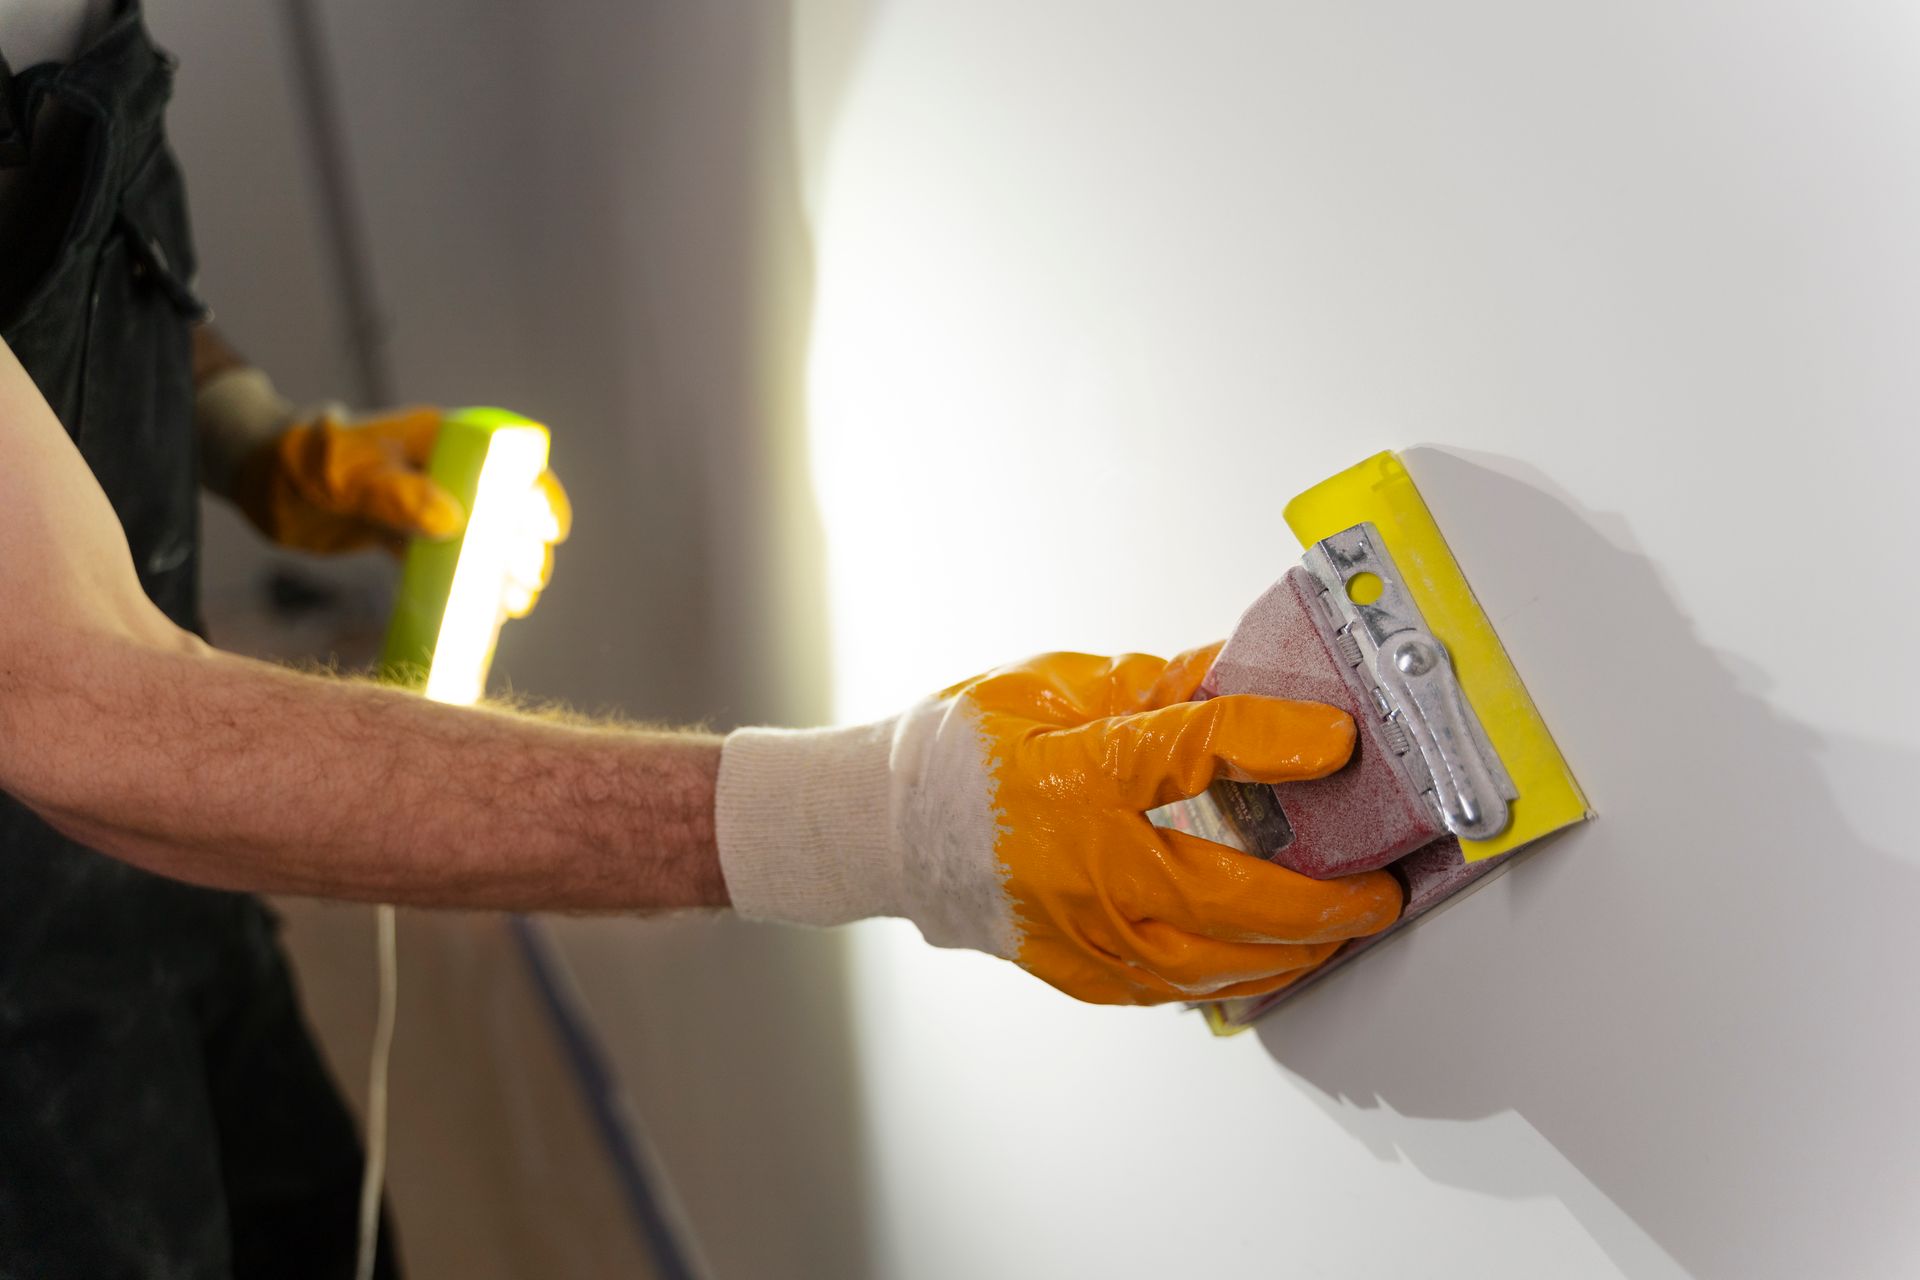
Once the patching compound is dry, sand it smooth with a sanding block or fine-grit sandpaper.
If needed, apply a second coat of patching compound and repeat the sanding process until the repair is flush with the wall.
Step 4: Prime and Paint
Apply a primer to the patched area to ensure an even finish.
Once the primer is dry, paint the repaired area to match the rest of the wall.
Repairing Larger Holes in Walls
Step 1: Prepare the Hole
For larger holes, clean the area around the hole and remove any loose or damaged drywall.
Step 2: Apply a Drywall Patch
Place a drywall patch over the hole, ensuring it covers the damaged area entirely. Use a putty knife to press it firmly onto the wall.
Step 3: Apply Patching Compound
Apply a layer of patching compound over the drywall patch, extending it beyond the patch's edges.
Feather the edges of the compound to blend it with the surrounding wall.
Step 4: Sand and Repeat
Once the patching compound is dry, sand it smooth, and apply additional coats as needed until the repair is level with the wall.
Step 5: Prime and Paint
Apply primer to the repaired area and allow it to dry.
Finish by painting the repaired section to match the rest of the wall.
When to Seek Professional Help
While many hole repairs can be tackled as DIY projects, some situations may require professional handyman to fix hole in wall and you might have to search for contractors for hole in wall repair near me or something like that if you come face to face with these scenarios:
Extensive Damage
If your walls have extensive damage and you want to go with a self fix hole in wall approach it might be difficult, it may be more efficient and cost-effective to hire a professional that we can provide. Our professionals are experts of hole in wall repair. .
Structural Issues
If you suspect structural issues or the hole is a result of a larger problem, consult a contractor or structural engineer so you can perfectly cover up holes in wall.
Lack of Time or Experience
If you lack the time, tools, or experience to tackle the repair even trying to fix small hole in wall can be daunting, hiring a handyman or professional contractor is a wise choice.
Conclusion
Repairing holes in walls doesn't have to be a daunting task. With the right tools, materials, and a step-by-step approach, you can successfully mend small and large holes, restoring the aesthetics of your home. Even patching drywall anchor holes can be performed as a DIY but with the right tools and knowledge.
Remember that proper preparation, patience, and attention to detail are key to achieving a seamless finish. Whether you're a DIY enthusiast or need to call in a handyman, we equipped you with the knowledge to patch up holes in wall and help them regain the beauty of your walls. Furthermore you can also use decorations to cover holes in wall but that's just a temporary fix.
You can also check out our article on
the art of drywall tape and bed if you find this one interesting.
Ready to work with Dallas Drywall Solutions?
Let's connect! We’re here to help.
Send us a message and we’ll be in touch.
Or give us a call today at 972-362-9799

